To anyone who stopped by today hoping for pictures of chicks, I was sent an email by the company I ordered from informing me that they'd only been shipped today. I will not have them until tomorrow or Friday...Which is a pity, because I finished setting up their brooder this morning! I do have pictures of that, however (though less exciting than baby chickens, I know).
My brooder on Tuesday evening: I nailed a piece of particle board (big one parallel to the wall) across two smaller 4-foot boards (~11 inches high). I only drove the 4-inch nails about 2 inches in leaving room to remove them so I can dismantle the brooder after I'm done with it, and to use them as convenient hooks for other things.
Nails in particle board
The enclosure is 4x7 feet, using the garage as one wall. The walls should be at least a foot high, so I put tall pieces of plywood against either narrow edge of the brooder to prevent the chicks from escaping. The plywood simply leans against the brooder, and can be removed for easy access. I placed a tarp under the whole enclosure, in order to keep my garage floor clean (chicks poop a lot!).
I constructed roosts from small branches nailed to sanded scrap wood, and I hung my brooder lamp from my garage door rails, with a sturdy clamp to ensure stability. I didn't put any pine shaving bedding, food, or water in last evening.
On Wednesday morning, I laid the pine shaving bedding down on the floor. Pine shavings are good to use, because they don't cause respiratory problems (unlike some woods, like cedar), and they do not allow for easy slipping (unlike newspaper). If a chick slips, it can cause an injury known as splayed leg.
Some pine shavings, and my giant bag of them.
I put food in the chick feeder. I use medicated chick feed to prevent coccidiosis, a common protozoan-caused illness in chicks. It only needs to be used for the first week to ten days of chicks' lives, however. Next to the feeder is a ramequin of crushed gravel, or my home-made chick grit. Grit is important for chickens--they have no teeth, so they eat rocks, which go to their gizzards to help grind up their food for digestion.
I also set up my home-made waterers, which my father told me my grandmother used to supply her chicks with water. The two waterers consist on wine bottle upside-down in ramequins. They use the laws of physics (gas laws) to create a vacuum.
My feeder, with grit on the right.
Picture on the right: Medicated chick feed

Home-made waterers, à la française.
I added some little reminder posters to my walls, as I know I will have more than one visitor to my chicks! One is a reminder that it's always important to wash your hands before and after contact with the birds, to protect the chicks and yourself. The other is guide to approximate temperatures for the chicks week to week.
And here's my completed brooder, waiting for baby chickens!
Coop Update
I've been very busy with my coop these past several days. Up until today, the weather was very nice. I was able to frame the henhouse, stain the coop, and install the roofing elements and the roofing panels.
Framing the henhouse was the first task
Sanding pieces... my least favorite job.
A gussett angle bracket holding henhouse studs in place.
Drilling studs
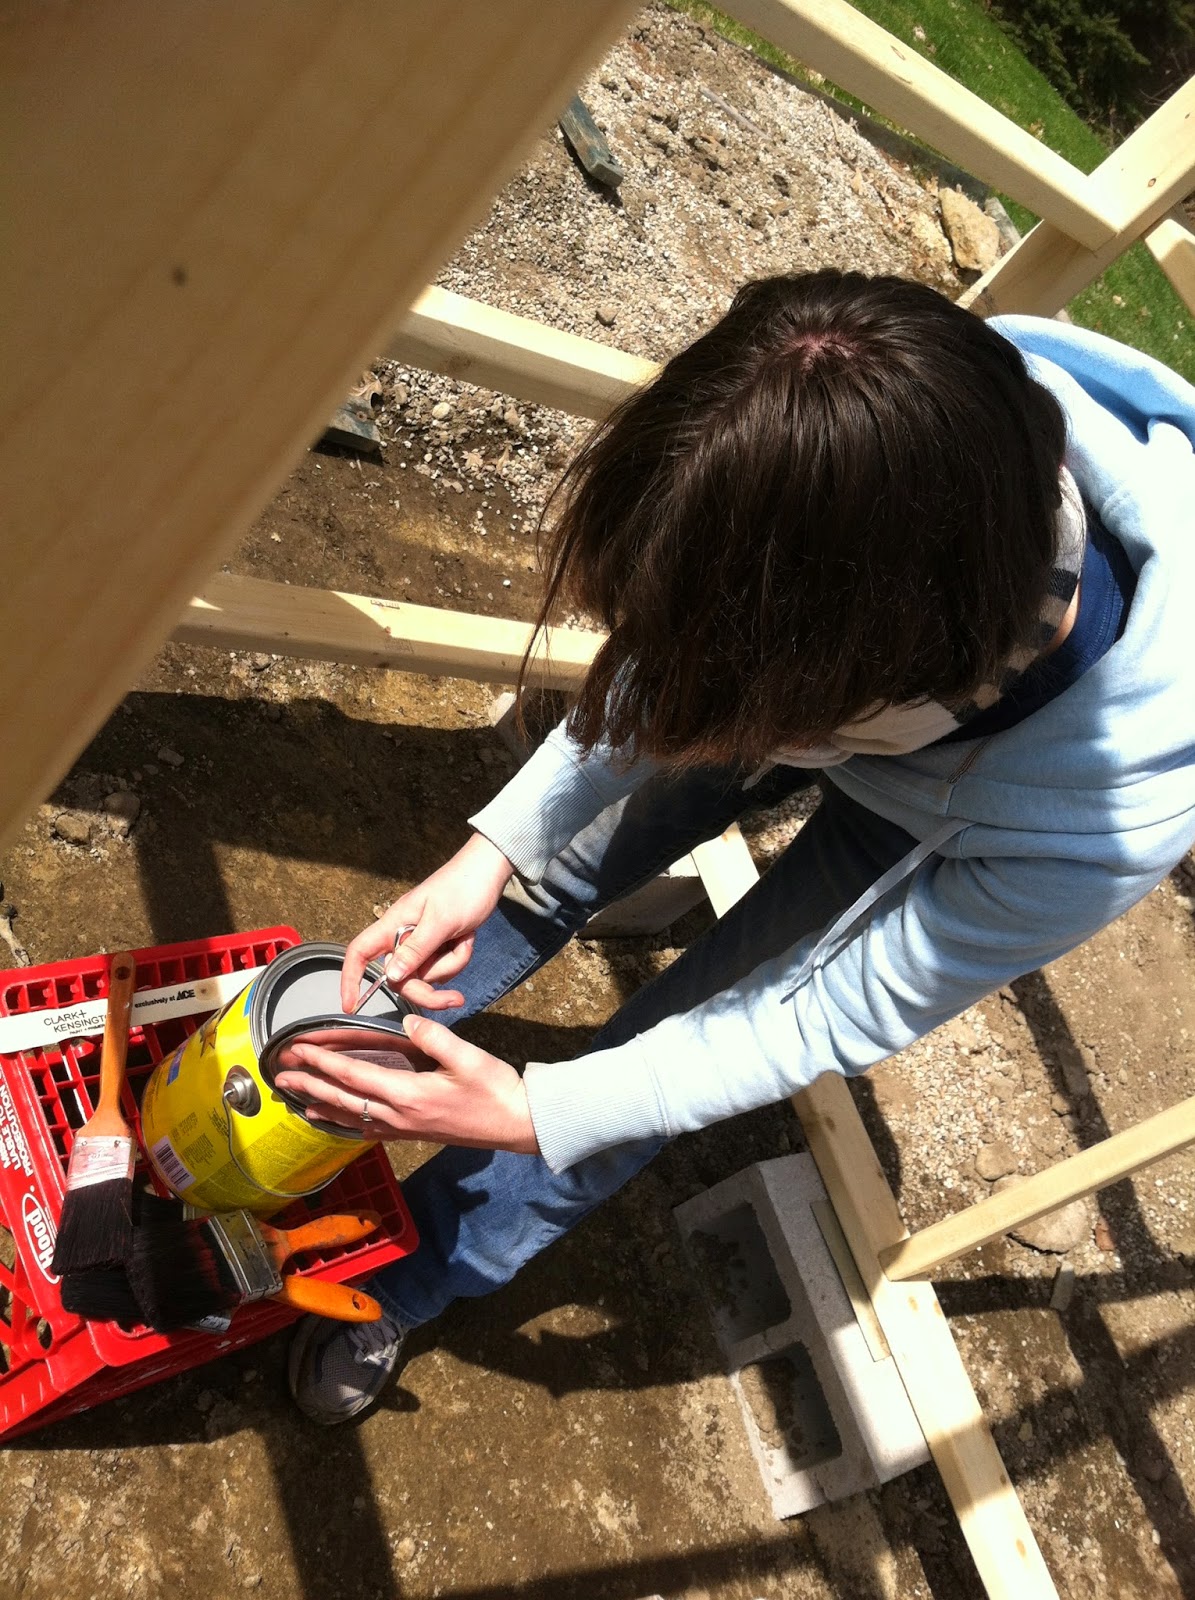
My friend Ray helped me stain the coop. It was a long tedious process, but it turned out great! The stain helps protect against the elements, and keeps it weather-resistant. It also looks prettier! The color is called bluestone.
I installed the roofing panels all on my own (sadface). It was a long process, and my right hand was exhausted from drilling and driving afterwards, but it turned out great!
White polycarbonate roofing panels
And here's a special treat: a picture of the stained coop as a whole, just so you can have an idea of what it looks like! This was before the roofing panels, but it looks really nice, all colored and next to the apricot tree in bloom!! I can't take any too close up due to copyright on the coop plans, in case people try to reproduce it without the plans.
That's all for now. Stay tuned for CHICKS!


No comments:
Post a Comment