Friday, April 25, 2014

Weekly Journal #3

Summary

CHICKS ARRIVED YESTERDAY!!!

I picked up a peeping package at the post office yesterday morning! The five girls were a bit dazed and confused when they got out of the box, but were very active and entertaining, quickly learning where the food and water was (with a little help). When I took them out of the box, one by one, I dipped their beaks in the water and then into the feed to help teach them where to find water and food, and how to eat and drink. Without a mother hen, most chicks don't know where to find food or drink, or even what it means to eat and drink! They haven't been taught, so it is important to help them. However, they did find the grit on their own, and have been consuming it, which is good for their digestion. I have been spending a lot of time with them, sitting in their brooder just to get them used to my presence and observing them. They are still afraid of being picked up and touched, but I do it anyway to get them accustomed to it. They are going to be around humans a lot.
Check out pictures of the girls below!! :)


 Sleepy girl :)


A cute video of the babies

I set up the brooder on the 3 days before they arrived, pictures of which can be seen in my previous post. As summarized in that post, this included putting up the heat lamp, nailing boards together, laying bedding, setting up waterers, grinding up gravel for grit, filling the feeder, and constructing roosts.

I did coop work this week as well, which can also be seen in past posts. I built the roof, stained the coop, framed the henhouse, and began cutting and installing hardware cloth. See pictures and details from past posts.

Reflection
I learned about baby chickens this week! :) They're pretty active, but fall asleep suddenly and in the blink of an eye. Their social lifestyle is evident, even at only a couple of days. They travel as a group a lot, and when one gets separated or picked up, she tends to cheep loudly and frantically, looking for the others. They always want to do what the others are doing. But, they're all a little different too. There's a couple that get more alarmed than others when picked up. There's one chick with prominent back markings that appears to be a natural leader. She's very curious, and is often the first to come explore (albeit a bit cautiously) when someone puts their hand or foot in the brooder.
The chicks have figured out how to climb onto the little concrete ledge at the edge of their brooder. When the first one figured it out, all the others wanted to try too. They like it up there, and I think its due to the fact that chickens like to roost above the ground (although they haven't yet figured out the roosting poles I set up for them). They are also less fragile than one may think (although their bones are hollow, so don't throw them around a lot). They jump from places that are high up relative to their size, fall over a lot, walk on top of each other, and bump into each other. It's adorable, but they are quite hardy for babies. They're also a lot more capable than human babies of the same age--they eat, drink, and walk on their own.
As for coop building, I learned the hard way that oil-based products do not come off clothes and hands easily! Oils don't like water, so they require a lot of soap to remove. I think I've permanently ruined a t-shirt. Also, hardware cloth is awful stuff--it's hard to cut, rolls up a lot, and has sharp ends.
From the coop, I've also learned that insects (flies, bees) like that spot a lot. The fruit trees are right next to it, and there's bare dirt under the coop that they live in. I'll have to take some measures to keep bugs away somehow.

Wednesday, April 23, 2014

Update: Coop and Chicks

Sorry, folks!
To anyone who stopped by today hoping for pictures of chicks, I was sent an email by the company I ordered from informing me that they'd only been shipped today. I will not have them until tomorrow or Friday...Which is a pity, because I finished setting up their brooder this morning! I do have pictures of that, however (though less exciting than baby chickens, I know).

My brooder on Tuesday evening: I nailed a piece of particle board (big one parallel to the wall) across two smaller 4-foot boards (~11 inches high). I only drove the 4-inch nails about 2 inches in leaving room to remove them so I can dismantle the brooder after I'm done with it, and to use them as convenient hooks for other things.

Nails in particle board

The enclosure is 4x7 feet, using the garage as one wall. The walls should be at least a foot high, so I put tall pieces of plywood against either narrow edge of the brooder to prevent the chicks from escaping. The plywood simply leans against the brooder, and can be removed for easy access. I placed a tarp under the whole enclosure, in order to keep my garage floor clean (chicks poop a lot!).
I constructed roosts from small branches nailed to sanded scrap wood, and I hung my brooder lamp from my garage door rails, with a sturdy clamp to ensure stability. I didn't put any pine shaving bedding, food, or water in last evening.

On Wednesday morning, I laid the pine shaving bedding down on the floor. Pine shavings are good to use, because they don't cause respiratory problems (unlike some woods, like cedar), and they do not allow for easy slipping (unlike newspaper). If a chick slips, it can cause an injury known as splayed leg.
 Some pine shavings, and my giant bag of them.

I put food in the chick feeder. I use medicated chick feed to prevent coccidiosis, a common protozoan-caused illness in chicks. It only needs to be used for the first week to ten days of chicks' lives, however. Next to the feeder is a ramequin of crushed gravel, or my home-made chick grit. Grit is important for chickens--they have no teeth, so they eat rocks, which go to their gizzards to help grind up their food for digestion.
I also set up my home-made waterers, which my father told me my grandmother used to supply her chicks with water. The two waterers consist on wine bottle upside-down in ramequins. They use the laws of physics (gas laws) to create a vacuum.
 My feeder, with grit on the right.

Picture on the right: Medicated chick feed


Home-made waterers, à la française.


I added some little reminder posters to my walls, as I know I will have more than one visitor to my chicks! One is a reminder that it's always important to wash your hands before and after contact with the birds, to protect the chicks and yourself. The other is guide to approximate temperatures for the chicks week to week.


And here's my completed brooder, waiting for baby chickens!


Coop Update
I've been very busy with my coop these past several days. Up until today, the weather was very nice. I was able to frame the henhouse, stain the coop, and install the roofing elements and the roofing panels. 

Framing the henhouse was the first task
 Sanding pieces... my least favorite job.
 A gussett angle bracket holding henhouse studs in place.
Drilling studs

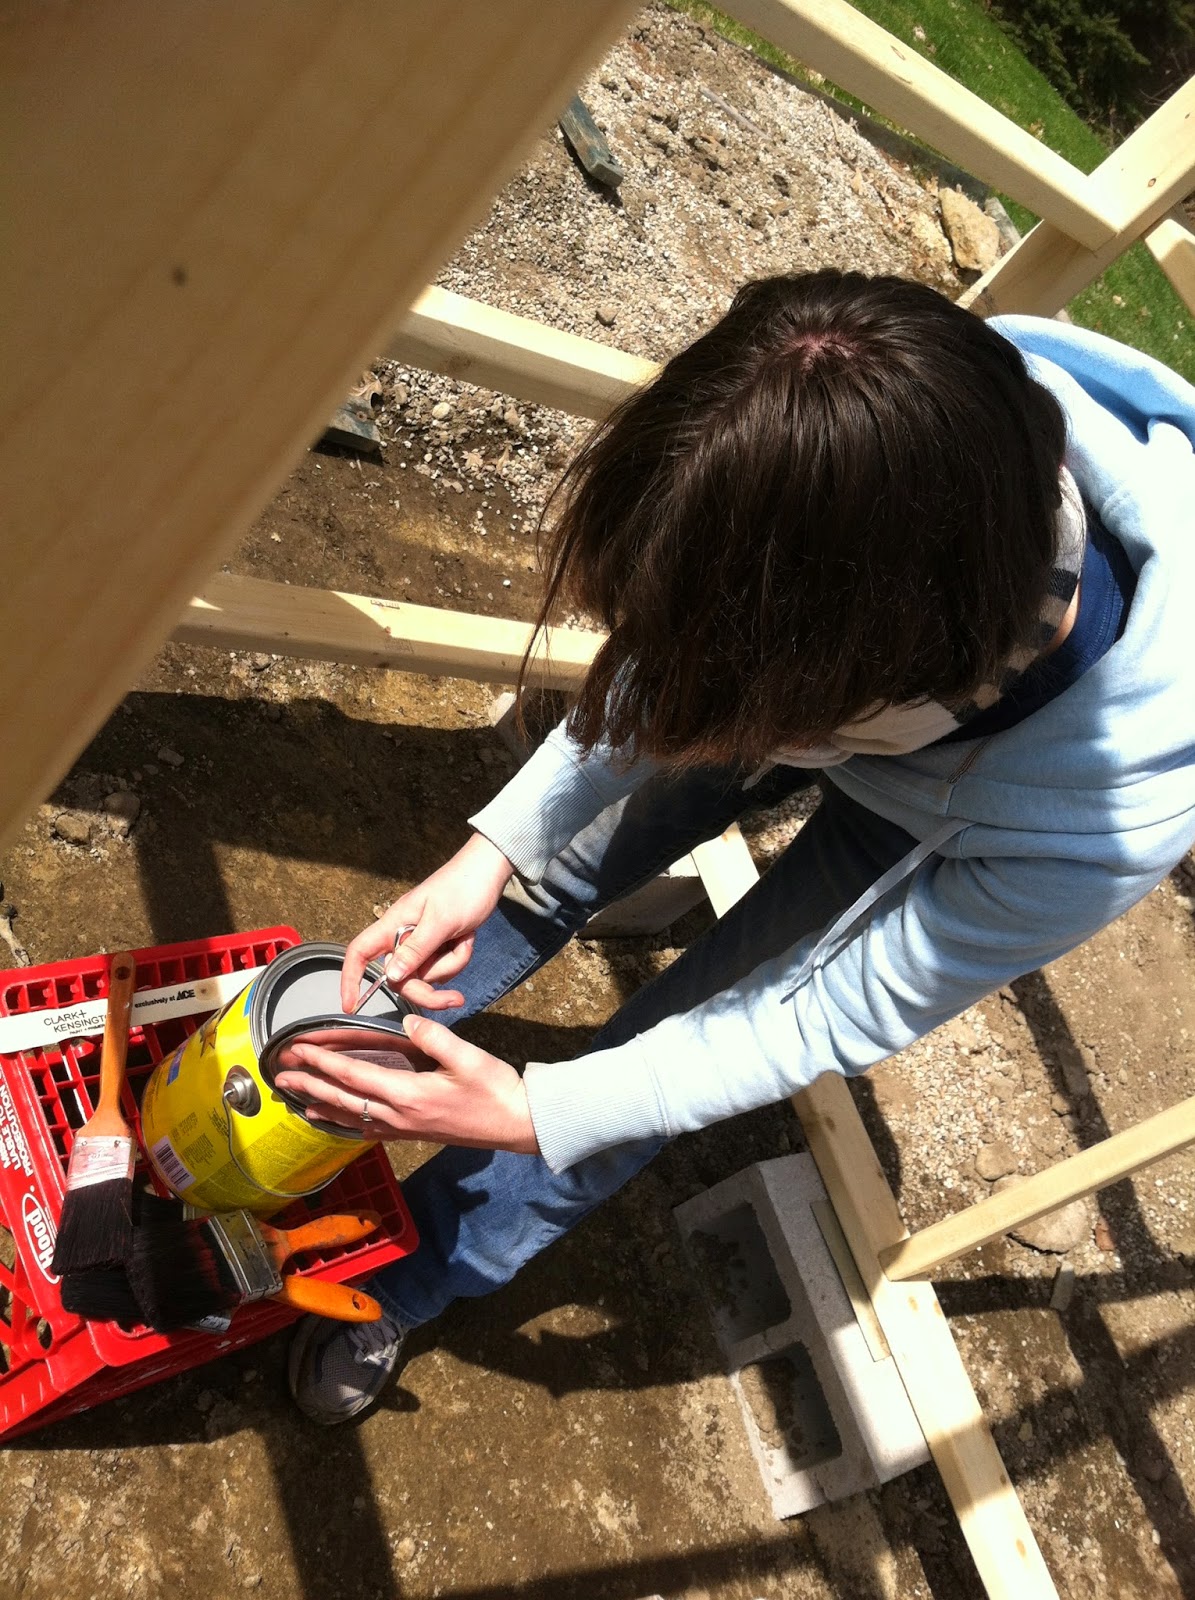
My friend Ray helped me stain the coop. It was a long tedious process, but it turned out great! The stain helps protect against the elements, and keeps it weather-resistant. It also looks prettier! The color is called bluestone.


I installed the roofing panels all on my own (sadface). It was a long process, and my right hand was exhausted from drilling and driving afterwards, but it turned out great!

White polycarbonate roofing panels

And here's a special treat: a picture of the stained coop as a whole, just so you can have an idea of what it looks like! This was before the roofing panels, but it looks really nice, all colored and next to the apricot tree in bloom!! I can't take any too close up due to copyright on the coop plans, in case people try to reproduce it without the plans.

That's all for now. Stay tuned for CHICKS!

Saturday, April 19, 2014

Coop Update

Hi everyone! Four days until the chicks arrive!!

Today's activity included a little bit of chick preparation, with a lot more to come in the next few days. I went to Erikson Grain and purchased a large bale of pine shavings for bedding and 5 lbs of medicated chick starter feed. The feed is medicated to help the chicks build immunity against coccidiosis, a  nasty bacterial illness that the babies are susceptible to. Many die from the infection. Although the likeliness of my chicks getting it is low (I've never had poultry in the area before), better safe than sorry! The chicks stay on it for their first 1-2 weeks--then, they can go with regular feed.

I got cracking on the coop's roof today. Or at least tried to. Actually, that started on Thursday, when I brought my two 2"x8"x8' rafter boards to the high school for Mr. Arabian, the wood tech teacher, to help cut for me. It was a very difficult cut along the diagonal of the board--a cut that neither my sister nor I had enough experience to make. I'm very grateful that he was willing to help me with my project. Thank you, Mr. Arabian!
I wanted to complete the cuts on the rafters today, so I could really start the roof. But, I ran into a road block--we had no good way to make one of the necessary cuts. The blade on the chop saw isn't big enough, and my sister and I do not trust ourselves with the circular saw (it's a very rusted blade, and we were having trouble figuring out how to change some settings on it). I am waiting for one of my friends who owns a table saw to return from a trip to help me make the cut. She'll be back soon.
I was, however, able to work on the roof purlins (long parts the roofing panels rest on) in the meanwhile. I cut 2"x3"'s to the appropriate length, and then attached them to make longer pieces using mending plates. So I got a head start on that step. I cannot complete the roof until I have the rafter cut, though.
Attaching two-by-threes using mending plates

 Incomplete rafters awaiting further cuts.

 Four long purlins

Later in the day, I began to frame the henhouse of my coop. I had to toe-screw braces into my already-made frame (toe-screw=screw at an angle). I had some problems here too--one of the 5-foot pieces I cut did not fit flush with the rest of my frame (I really should have measured to be safe, but I also can't afford to cut more of my 2"x4"'s for this). There was a quarter-inch gap between the brace I was trying to set up and the stud from the frame. But I did not run out of ideas, although it was a close one. I used small wedge-shaped pieces from a previous cut to fill the extra space. I'm pretty proud of my last-minute fix.
 Example of toe-screwing. The screw is inserted at an angle into the adjoining stud.
 My quick fix! Filling the gap with scrap pieces!

More pictures and update to come, hopefully. Stay tuned for chicks!! :)


Friday, April 18, 2014

Weekly Journal #2 and Progress Update

Summary
This past week has been chock-full of building!! A lot of new experiences for me.
I apologize in advance for the lack of pictures of the coop in progress--due to copyright on the coop plans, I am not permitted to post pictures of the full coop in progress online. If you know me in person, feel free to come over and check it out. Such pictures will be on my project presentation on the 22nd on May.

The weekend of the 12th was a busy one--my sister and I framed all four walls of the coop. This includes the front, back, and side walls. There were some bumps in the road, but they all came out decent. This was my first ever building project.
My sister is more of a woodworker than I am, so I enlisted her to give me a hand, and I'm very thankful for that decision. She helped me learn to operate the tools, and taught me how to use wood correctly. And she was a big help in the actual building. It sped up the process immensely.
We had some major problems that bogged us down, mostly stemming from the fact that of lot of the wood was not top-notch quality. A lot of it was warped, meaning not straight, making it difficult to get the studs to attach correctly, or to accurately measure certain parts. If you need to build something, go to lumber yard and pick the wood yourself!


I use a saw!

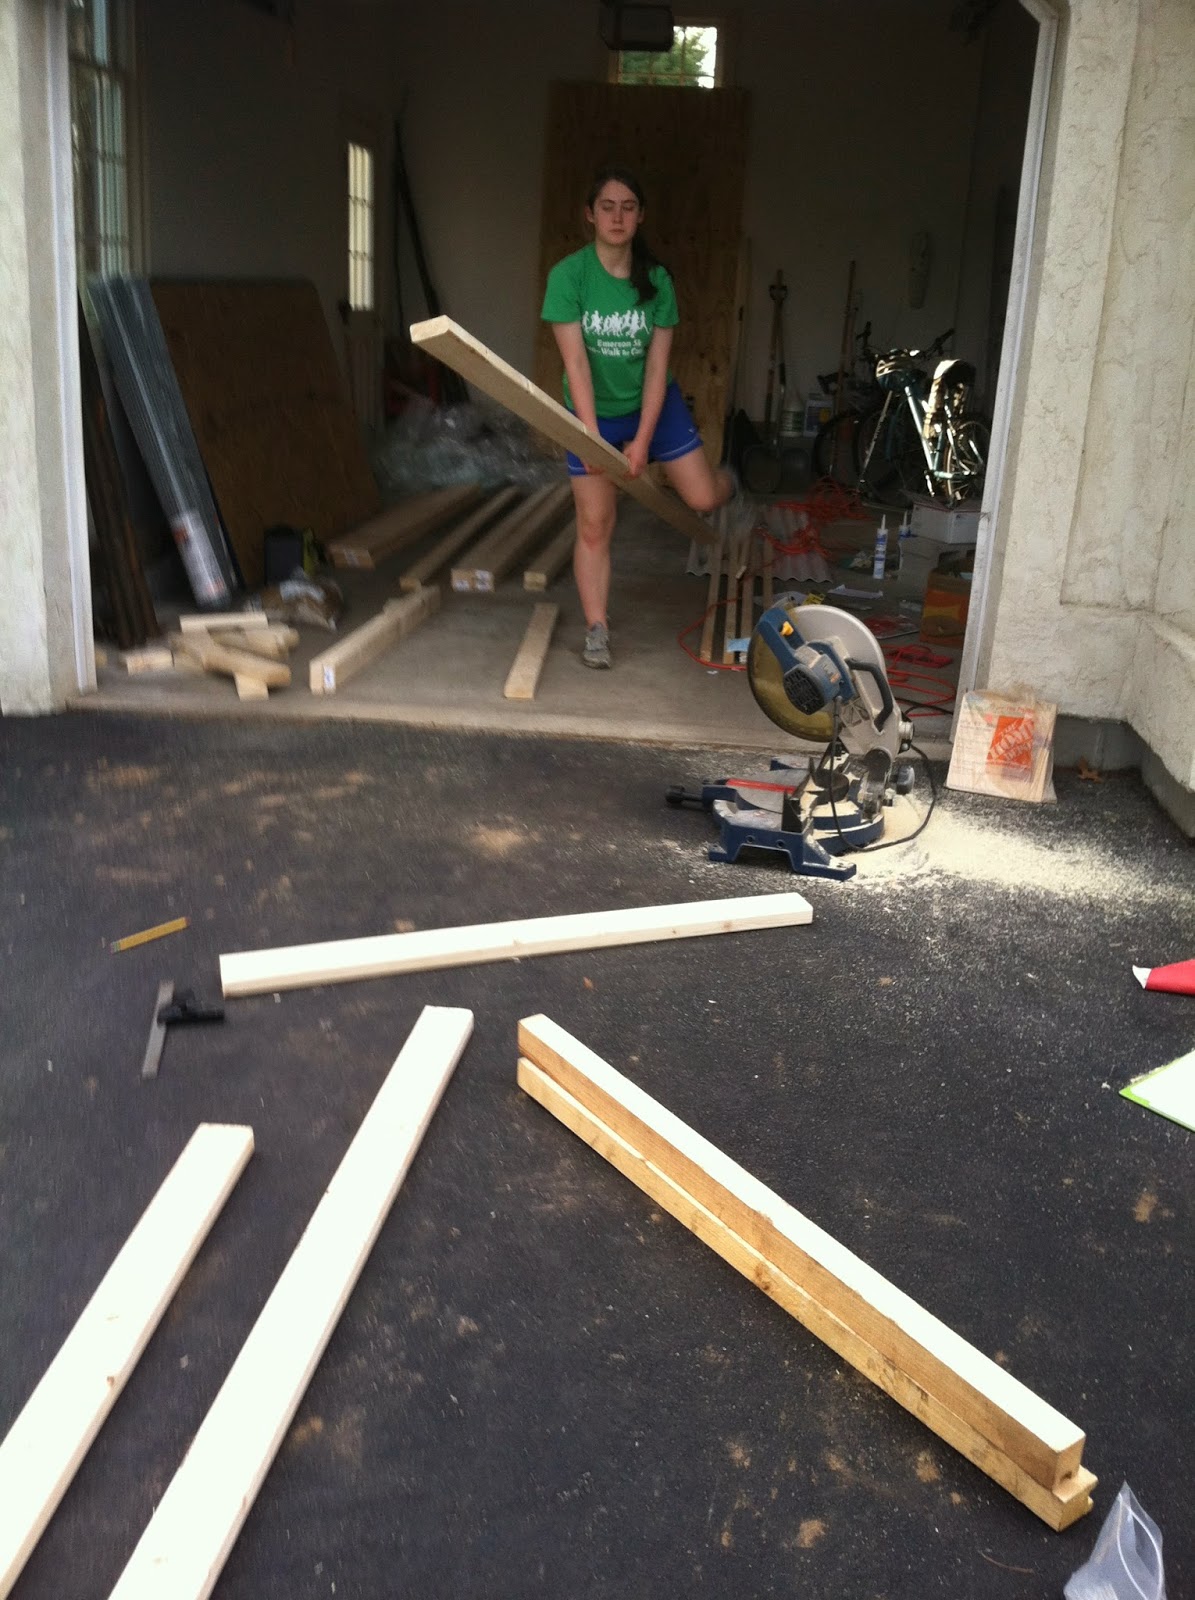
Carrying wood, sanding, cutting, drilling, and hammering were all part of the weekend's work.


Over the rest of the week, I assembled the pieces of the frame to make it look more like a three-dimensional structure (pictures unavailable online). This included a lot of drilling, screw driving, measuring, and crying (kidding--except over warped wood. No, still kidding). I had help from my sister and my friends Ray and Mary once again during this process. This is a project that is mostly impossible without a pair of helping hands from time to time.
Some clamped studs from the frame.

On Tuesday, Mary and Ray accompanied me to Littleton Lumber to purchase some more wood. I was missing two 2"x2"x8' strips, and I was hoping I'd be able to buy more there. They didn't have two-by-twos, however, so I bought 6 two-by-threes instead. They'll offer more support for the roof anyway. I also bought one more 2"x8"x8' board. I need two of those for roof rafters, and one was warped beyond repair, so I purchased a new one. We put it all in Mary's station wagon to get it home.
Hi!
The remainder of the time that day was spent digging (again). I need to put in cinder blocks to keep the coop off the ground, so moisture doesn't rot the wood. Unfortunately, New England grows rocks, so much of the time was spent digging those up, making the task much longer and more painful (ow, my back). Our favorite rock-removing tool is a 5-foot long solid iron rod, with one pointed end. I named him Vlad the Impaler.
Vlad and the Shovels (sounds like a bad band name)


Mary and the biggest rock we encountered. We aptly named it the Dinosaur Egg. It's bigger than your head, I promise.
That day, Mary, my sister, and I also began to set the cinder blocks, narrow ends up. It wasn't til the following day that we had real problems, though. Leveling the blocks was a challenge, and, once again, the rocks didn't make the job any easier. We settled with an extra inch sticking out, but we were cold and tired by that point. It'll do the job just as well. In the end, we got the first 4 out of 8 set. (There are 8 because one needs to go below each vertical stud for support.)
 The blocks are 8 by 8 by 16 inches--we had to dig at least a foot for each block!


Today, I headed west to Athol to visit Mr. Josh Pincus, the livestock manager at the Farm School I attended in 4th grade. He gave me some advice, and good points about interacting with chickens. (He also said that they are mini dinosaurs, which I do not find hard to believe. He told me they killed a mouse once.)

Listen to the interview with Josh Pincus here!

I spent the rest of today setting the last 4 cinder blocks. This time, I overlooked the directions and set them wide side up instead of narrow side, so I could avoid digging. The rocks are an absolute nightmare to deal with. The only complication this creates is that of sheet metal. Small pieces of metal are tacked onto the frame beneath each stud for extra water protection. They cover the area that touches the cinder block entirely when the block is narrow side up, but not wide side up. That is alright though--the zinc plates are an extra precaution anyway. After setting and leveling the blocks, my sister and I painstakingly moved the huge frame onto them, and leveled them again as necessary. I'm so proud of all the work! Next step: the roof!!
 Nailing zinc plates under the point of contact between the cinder blocks and frame.
 Part of the frame set on the wide side up blocks.

Reflection
The pea stones left in the coop area are still awful, in the way, and plain ugly. Mom is having parts of the garden re-landscaped though, so maybe the landscapers can find a clever way to get rid of them. Also, I need to take into account gardens for Mom around the coop. Getting rid of the pea stones would be good for flower garden aesthetics too. To warm my animal-deficient mother up to the idea of chickens and a coop, I've brought up the topic of chicken-friendly gardens. Mom loves gardening, but she's been having issues with deer and other pests eating her plants recently, as she hasn't had as much time to combat them as usual. Chickens eat almost anything, so the good news is that, if chickens don't eat it, chances are most other animals don't either! She wants to add more plants to her garden, so I'm looking into that. As for how this relates to the pea stones, I want mom to be able to plant some things around the coop once it is completed--such as a climbing plant on the hardware cloth. It will not only look pretty climbing up the enclosed run (for Mom), but it will also serve as a source of summer shade for the chickens (for me). And if the area looks nice, Mom will  be happier with it (I love you, Mom!!).
Over the course of this week, I've learned a lot about wood and building. I've learned how to keep it from splitting, how to identify and avoid warped wood, how to avoid knots in the wood when nailing/driving screws, how to use a level and leveling sand, and to always measure the width of the saw blade before cutting! Most of what I learned this week was about handy work--all useful skills to have later in my life (how to use a hammer is always a good one, you know). And how to deal with rocks. I still can't get over this.
Josh Pincus also gave me some good tips for warming people up to animals. He says exposure and involvement are the two surest ways to get people to enjoy animals. He says chickens are pretty easy once they are fully grown, which is yet more incentive as to why people should keep the animals. Not only do they offer eggs, but once they reach adulthood, they are pretty low-maintenance. Also, he says he hopes I like eggs--once grown, they will lay approximately one a day each. That's five eggs a day! Over time, there will be plenty for me, my family, my neighbors, and my friends!